Meta가 Muse Glimmer로 돌아왔다: 로컬, 에이전트형, 멀티모달, 그리고 오픈 소스!
- Meta가 Muse Glimmer로 돌아왔다: 로컬, 에이전트형, 멀티모달, 그리고 오픈 소스!
이 글은 Hugging Face 블로그의 Meta is back with Muse Glimmer: local, agentic, multimodal, and open source를 한국어로 번역한 글입니다.
Meta가 Muse Glimmer로 돌아왔다: 로컬, 에이전트형, 멀티모달, 그리고 오픈 소스!
오픈 소스 LLM의 원조들로부터 반가운 소식! Muse Glimmer는 오늘 출시된 메타의 새로운 멀티모달 모델로, 특히 로컬 에이전트형 사용 사례를 위해 설계되었습니다. Muse를 30B 파라미터로 축소하고, Apache 2.0 license 하에 공개되어 개인정보 보호를 위해 로컬 배포, 비용 절감, 또는 단순한 해킹에 이상적입니다. 코딩, 문서 분석, 개인 비서, Claw- 또는 Hermes와 같은 설정과 같은 프라이버시 중심 애플리케이션을 위한 목적입니다.
축하의 의미로, transformers, llama.cpp, vLLM, Inference Endpoints 및 기타 라이브러리에서 메타의 day-0 지원을 제공합니다. 우리는 몇 가지 멋진 것들을 만들었고 이 블로그에서 우리의 발견을 설명합니다.
Check out the demos below for inspiration.
다음에서 Muse Glimmer on the Hugging Face Hub를 찾을 수 있습니다.
벤치마크
Benchmark results
점수는 게시된 방식으로 보고됩니다. **Bold**는 비교 대상 모델 중 최상의 결과를 나타내고; ↓는 더 낮은 값이 더 좋음을 의미합니다. | 범주 | 벤치마크 | Muse Glimmer-30B고차 추론 | Gemma4-31B
사고 모드 | Qwen3.6-27B
사고 모드 | | --- | --- | ---: | ---: | ---: | | 일반 에이전트형 | MCP Atlas | **75.5** | 54.2 | 62.5 | | 일반 에이전트형 | DeepSearch QA | **74.6** | 61.7 | 71.1 | | 일반 에이전트형 | τ³-Banking | **23.5** | 15.1 | 16.7 | | 일반 에이전트형 | WildClawBench | **47.6** | 37.6 | 43.2 | | 일반 에이전트형 | GDPval-AA | 953 | 811 | **1141** | | 일반 에이전트형 | GAIA2 | **43.3** | 36.4 | 40.0 | | 일반 에이전트형 | SkillsBench (With Skills) | 44.3 | 32.4 | **46.6** | | 일반 에이전트형 | OSWorld-Verified | 65.9 | 58.5 | **75.6** | | 에이전트적 코딩 | SWE-Bench Pro | **51.2** | 36.9 | 50.2 | | 에이전트적 코딩 | SWE-Bench Verified | 76.0 | 66.6 | **77.2** | | 에이전트적 코딩 | TerminalBench 2.1 | 51.7 | 43.4 | **60.7** | | 에이전트적 코딩 | SciCode | **43.6** | 43.4 | 39.8 | | 멀티모달 | Charxiv Reasoning | **78.8** | 77.7 | 78.4 | | 멀티모달 | ScreenSpot Pro | 75.4 | 75.9 | **76.1** | | 멀티모달 | OmniDocBench v1.5 | 75.8 | 72.5 | **77.8** | | 멀티모달 | MMMU Pro | 74 | 73 | **75** | | 안전성 | CI Memories | Violation (↓): 26.4
Coverage: 64.8 | **Violation (↓): 12.1**
Coverage: 53.0 | Violation (↓): 53.4
Coverage: 66.9 | | 안전성 | Siren AgentDojo | Attack Success Rate (↓): 28.4
Utility: 94.2 | **Attack Success Rate (↓): 25.6**
Utility: 90.8 | Attack Success Rate (↓): 40.3
Utility: 92.7 | | 일반적 능력 및 추론 | IFBench | **77.0** | 76.0 | 70.8 | | 일반적 능력 및 추론 | AIME 2026 | **94.7** | 89.2 | 94.1 | | 일반적 능력 및 추론 | GPQA Diamond | 83.5 | **85.7** | 84.2 | | 일반적 능력 및 추론 | Humanity’s Last Exam (Text + No Tools) | 22.0 | **23.6** | 23.1 | | 일반적 능력 및 추론 | AA-LCR | **80.0** | 68.3 | 73.3 | | 일반적 능력 및 추론 | Beam 128K | **65.1** | 58.2 | 63.0 |
아키텍처
Muse Glimmer는 30B 파라미터의 밀도형 모델로 구성되어 있습니다:
- 2B ViT 스타일 인코더(Perception Encoder)
- 28B 파라미터 텍스트 디코더
메인 VLM 외에도 DFlash에서 구현된 추측적 디코딩 드래프터가 있습니다. 이 모듈의 사용은 선택 사항이며, 약간의 메모리 비용과 교환으로 더 빠른 생성 속도를 제공할 수 있습니다. 우리는 이 드래프터가 코딩과 같은 구조화된 콘텐츠 생성을 위해 특히 잘 맞는다고 판단했습니다.
텍스트 디코더
언어 모델은 다음 아키텍처 구성 요소를 사용합니다:
- 하이브리드 어텐션: 로터리 위치 임베딩을 사용하는 2,048 토큰의 세 개의 슬라이딩 윈도우 계층을 교대로 사용한 뒤, 전체 어텐션과 NoPE(위치 임베딩 없음)를 사용하는 네 번째 계층이 뒤따릅니다. 따라서 패턴은 (SWA, SWA, SWA, Full)을 13회 반복하여 총 52층이 됩니다. 이로써 RoPE를 사용해 상대적 순서와 거리 정보를 유지하고 NoPE로 정보를 전역적으로 보존합니다.
- 게이티드 그룹드-쿼리 어텐션: 각 키-값 헤드는 16개의 쿼리 헤드가 공유하여 KV-캐시 메모리를 16배로 줄이고 생성 속도와 비용을 낮춥니다.
- Q-K 정규화와 추가 쿼리 스케일링: 어텐션을 계산하기 전에 Muse Glimmer는 모든 쿼리 및 키 헤드에 RMS 정규화를 적용하여 어텐션 로짓의 안정성을 유지합니다. 그 후 정규화 후 목표 로짓 스케일을 설정하기 위해 쿼리에 스케일 계수를 곱합니다. 추가 쿼리 스케일링은 소프트맥스 단계에서 역온도와 같은 작용을 합니다.
Perception Encoder
Muse Glimmer는 이미지와 비디오를 모두 처리하기 위해 하나의 이미지 인코더를 사용합니다. 다른 VLM에서 사용되는 상대적으로 작은 비전 인코더와 달리, 이는 Perception Encoder 아키텍처를 따라 설계된 상당히 큰 2B ViT-유사 모델입니다. Perception Encoder는 이전에 Meta as a backbone for various downstream spatial and multimodal tasks에 의해 소개되었습니다. 인코더는 이미지를 2 프레임 x 3 채널 x 14 x 14의 형태로 패치화하고, 이를 학습된 위치 테이블에서 보간된 절대 위치 임베딩을 더한 뒤, 이 임베딩들을 시각 타워로 전달합니다. 시각 타워는 50개의 계층과 GELU MLP로 구성됩니다. 언어 모델과 마찬가지로 어텐션 패턴은 세 개의 윈도우 어텐션 계층 뒤에 하나의 전체 어텐션 계층이 이어집니다. 어텐션 계층 내부에는 2D RoPE가 쿼리와 키에 적용됩니다.
트랜스포머 이후 픽셀 셔플은 인접한 공간 토큰의 2x2 묶음을 연결하여 채널을 버리지 않고 이미지 토큰의 수를 4배 감소시킵니다. 병합된 특징은 텍스트 디코더의 공유 임베딩 공간으로 투영됩니다.
| 비디오도 프레임별로 같은 인코더를 거치며, 각 프레임은 패치로 변환됩니다(모양 [배치, 시간 그룹, 격자 높이, 격자 너비, 2 프레임, 3 채널, 14, 14]). 프로세서는 초당 2프레임을 목표로 하며 비디오를 고르게 샘플링하여 96프레임으로 상한을 둡니다. 프로세서는 타임스탬프가 있는 비디오 플레이스홀더를 생성하고 예를 들어 텍스트와 프레임을 교차시키며 “Time: 0.0s < | video | > x N” 형태를 삽입합니다. 최종 비디오 임베딩은 최종 투영 계층 전에 대체됩니다. |
트랜스포머
Muse Glimmer를 사용하려면 트랜스포머를 최신 버전으로 업그레이드하십시오.
pip install --upgrade transformers accelerate
Muse Glimmer는 트랜스포머에서 day-0 지원을 제공합니다. 주요 모델과 추측 디코더 드래프터 모두에 대해 그렇습니다. AutoModelForMultimodalLM와 AutoProcessor 클래스를 사용하여 모델과 프로세서를 로드할 수 있습니다.
from transformers import AutoProcessor, AutoModelForMultimodalLM

MODEL_ID = "meta-models/Muse-Glimmer-30B"

# Load model
processor = AutoProcessor.from_pretrained(MODEL_ID)
model = AutoModelForMultimodalLM.from_pretrained(
    MODEL_ID,
    dtype="auto",
    device_map="auto"
)
같은 스니펫은 NVIDIA(CUDA), AMD(ROCm) 및 Intel(XPU) GPU에서 변경 없이 실행됩니다. device_map="auto"은 사용 가능한 가속기에 모델을 배치합니다.
텍스트 전용 추론
모델을 로드한 후 아래와 같이 텍스트 전용 추론을 수행할 수 있습니다.
from transformers import AutoProcessor, AutoModelForMultimodalLM

MODEL_ID = "meta-models/Muse-Glimmer-30B"

# Load model
processor = AutoProcessor.from_pretrained(MODEL_ID)
model = AutoModelForMultimodalLM.from_pretrained(
    MODEL_ID,
    dtype="auto",
    device_map="auto"
)

# Prompt
messages = [
    {"role": "user", "content": "Write a short joke about saving RAM."},
]

# Process input
inputs = processor.apply_chat_template(
    messages,
    tokenize=True,
    return_dict=True,
    return_tensors="pt",
    add_generation_prompt=True,
    reasoning_strength="low"
).to(model.device)
input_len = inputs["input_ids"].shape[-1]

# Generate output
outputs = model.generate(**inputs)
response = processor.decode(outputs[0][input_len:], skip_special_tokens=False)
print(response)
이미지와 텍스트로 모델에 프롬프트하기
이미지와 텍스트를 사용하려면 torchvision가 필요합니다.
pip install torchvision
Muse Glimmer는 입력으로 이미지를 허용합니다. 아래에서 시연합니다:
from transformers import AutoProcessor, AutoModelForMultimodalLM

MODEL_ID = "meta-models/Muse-Glimmer-30B"

# Load model
processor = AutoProcessor.from_pretrained(MODEL_ID)
model = AutoModelForMultimodalLM.from_pretrained(
    MODEL_ID,
    dtype="auto",
    device_map="auto"
)

# Images + Text
messages = [
    {
        "role": "user", "content": [
            {"type": "image", "image": "https://huggingface.co/datasets/merve/vl-test-suite/resolve/main/SF.png"},
            {"type": "text", "text": "What is shown in this image?"}
        ]
    }
]

inputs = processor.apply_chat_template(
    messages,
    tokenize=True,
    return_dict=True,
    return_tensors="pt",
    add_generation_prompt=True,
    reasoning_strength="low"
).to(model.device)
input_len = inputs["input_ids"].shape[-1]

# Generate output
outputs = model.generate(**inputs)
response = processor.decode(outputs[0][input_len:], skip_special_tokens=False)
print(response)
비디오 추론
비디오 작업을 위해서는 환경에 torchcodec를 설치하는 것을 권장합니다.
pip install torchcodec
Muse Glimmer는 오디오 없이도 비디오에 대한 복잡한 질문에 답할 수 있습니다. 아래와 같이 비디오 추론을 수행할 수 있으며, 아래 예시는 VideoMME2로, 가장 인기 있는 비디오 질문 응답 벤치마크입니다.
from transformers import AutoProcessor, AutoModelForMultimodalLM

MODEL_ID = "meta-models/Muse-Glimmer-30B"

# Load model
processor = AutoProcessor.from_pretrained(MODEL_ID)
model = AutoModelForMultimodalLM.from_pretrained(
    MODEL_ID,
    dtype="auto",
    device_map="auto"
)

# Videos + Text
messages = [
    {
        "role": "user",
        "content": [
            {"type": "video", "video": "https://huggingface.co/datasets/merve/vl-test-suite/resolve/main/IMG_8137.mp4"},
            {"type": "text", "text": "Describe what happens in this video."},
        ],
    },
]

inputs = processor.apply_chat_template(
    messages,
    tokenize=True,
    return_dict=True,
    return_tensors="pt",
    add_generation_prompt=True,
    reasoning_strength="low",
    processor_kwargs={"num_frames": 96},
).to(model.device)

input_len = inputs["input_ids"].shape[-1]
outputs = model.generate(**inputs)

response = processor.decode(
    outputs[0, input_len:],
    skip_special_tokens=False,
)
print(response)
멀티모달 도구 호출
Muse Glimmer는 멀티모달 도구 호출을 수행할 수 있습니다. 아래 예시에서는 이미지 속 도시를 기반으로 날씨 도구를 호출하도록 모델에 요청합니다.
import json
import re
from transformers import AutoProcessor, AutoModelForMultimodalLM

MODEL_ID = "meta-models/Muse-Glimmer-30B"

# Load model
processor = AutoProcessor.from_pretrained(MODEL_ID)
model = AutoModelForMultimodalLM.from_pretrained(
    MODEL_ID,
    dtype="auto",
    device_map="auto"
)

tools = [
    {
        "type": "function",
        "function": {
            "name": "weather.get",
            "description": "Get the current weather for a city.",
            "parameters": {
                "type": "object",
                "properties": {
                    "city": {"type": "string"},
                },
                "required": ["city"],
            },
        },
    }
]


messages = [
    {
        "role": "user",
        "content": [
            {"type": "image", "image": "https://huggingface.co/datasets/merve/vl-test-suite/resolve/main/SF.png"},
            {"type": "text", "text": "I'm going to the city in this picture. What clothes should I wear?"},
        ],
    },
]

inputs = processor.apply_chat_template(
    messages,
    tools=tools,
    tokenize=True,
    return_dict=True,
    return_tensors="pt",
    add_generation_prompt=True,
    reasoning_strength="low"
).to(model.device)

input_len = inputs["input_ids"].shape[-1]
outputs = model.generate(**inputs)
response = processor.decode(outputs[0][input_len:], skip_special_tokens=False)
print(response)
객체 검출
다음과 같이 Muse Glimmer를 사용하여 이미지에서 열린(Open-ended) 객체 검출을 수행할 수 있습니다.
from transformers import AutoProcessor, AutoModelForMultimodalLM

MODEL_ID = "meta-models/Muse-Glimmer-30B"

# Load model
processor = AutoProcessor.from_pretrained(MODEL_ID)
model = AutoModelForMultimodalLM.from_pretrained(
    MODEL_ID,
    dtype="auto",
    device_map="auto"
)

messages = [{
    "role": "user",
    "content": [
        {"type": "image", "image": "https://huggingface.co/datasets/merve/vl-test-suite/resolve/main/SF.png"},
        {
            "type": "text",
            "text": (
                "Detect the bridge. Return only the detection in the model's "
                "native object-detection format, with no explanation."
            ),
        },
    ],
}]

inputs = processor.apply_chat_template(
    messages,
    tokenize=True,
    return_dict=True,
    return_tensors="pt",
    add_generation_prompt=True,
    reasoning_strength="low",
).to(model.device)

input_len = inputs["input_ids"].shape[-1]
outputs = model.generate(**inputs, max_new_tokens=128)
response = processor.decode(outputs[0][input_len:], skip_special_tokens=False)

detections = json.loads(response.removesuffix("<|eot|>"))
print(detections)
[!TIP] 여기에 객체 검출을 수행하는 엔드 투 엔드 스크립트가 있습니다 GitHub Gist
Llama.cpp
Muse Glimmer는 day-0 llama.cpp 지원을 제공합니다. Meta는 this repo에 보정된 양자값을 배포했고, Unsloth도 최적화된 양자값을 출시하고 있습니다. DFlash 추측 디코딩도 지원됩니다. llama 서버를 시작하거나 CLI를 실행하기 위해 사전 빌드된 llama 바이너리를 사용할 수 있습니다. llama.cpp를 설치하려면 다음을 실행하세요:
curl -LsSf https://llama.app/install.sh | sh
그다음 아래와 같이 서버를 시작할 수 있습니다.
llama serve -hf meta-models/Muse-Glimmer-30B-GGUF
서버가 시작되면 로컬호스트:8080으로 접속해 내장 WebUI로 대화할 수 있습니다.
또한 다음과 같이 서버에 질의할 수도 있습니다.
curl http://localhost:8080/v1/chat/completions \
    -H "Content-Type: application/json" \
    -d '{
        "messages": [
            {"role": "system", "content": "You are a helpful assistant."},
            {"role": "user", "content": "Write a limerick about python exceptions"}
        ]
    }'
llama 서버를 Pi와 같은 코딩 에이전트와 함께 사용할 수도 있습니다.
Speculative Decoding
DFlash는 디코딩 단계에서 추가 속도 향상을 제공하기 위해 가벼운 블록 확산 드래프터 모델을 사용합니다. Transformers와 llama.cpp는 Muse Glimmer day-0의 DFlash 드래프터를 지원합니다.
아래에서 추측 디코딩이 현실적인 설정에서 생성을 얼마나 빠르게 하는지 확인할 수 있습니다. 이 비디오는 왼쪽에 DFlash가 적용된 llama.cpp 웹 UI, 오른쪽에 일반 생성 화면을 보여줍니다.
트랜스포머를 이용한 추측 디코딩
다음과 같이 드래프터와 모델을 로드하고, 기본 모델에서처럼 추가 매개변수를 사용하여 추론할 수 있습니다(다음 코드 조각에서 보여줍니다).
import torch
from transformers import AutoProcessor, MuseGlimmerAssistantModel, MuseGlimmerForConditionalGeneration

model_id = "meta-models/Muse-Glimmer-30B"
assistant_model_id = "meta-models/Muse-Glimmer-30B-assistant"
target = MuseGlimmerForConditionalGeneration.from_pretrained(model_id, dtype=torch.bfloat16, device_map="auto")
assistant = MuseGlimmerAssistantModel.from_pretrained(assistant_model_id, dtype=torch.bfloat16, device_map="auto")
processor = AutoProcessor.from_pretrained(model_id)

messages = [
    {
        "role": "user", "content": [
            {"type": "image", "url": "https://huggingface.co/datasets/merve/vl-test-suite/resolve/main/SF.png"},
            {"type": "text", "text": "What is shown in this image?"}
        ]
    }
]

inputs = processor.apply_chat_template(
    messages,
    tokenize=True,
    return_dict=True,
    return_tensors="pt",
    add_generation_prompt=True,
    reasoning_strength="low"
).to(target.device)
input_len = inputs["input_ids"].shape[-1]

outputs = target.generate(
    **inputs,
    assistant_model=assistant,
    speculation_type="dflash",
    do_sample=True
)
response = processor.decode(outputs[0][input_len:], skip_special_tokens=False)
print(response)
llama.cpp를 이용한 추측 디코딩
다음 명령으로 llama 서버를 시작할 수 있습니다. --spec-draft-n-max 인자는 각 추측 디코딩 단계에서 DFlash가 제안하는 미래 토큰의 수를 제어합니다. Muse Glimmer의 DFlash 모델은 블록 크기 16, 하나의 앵커 토큰과 15개의 제안 토큰으로 학습되었으므로 15를 초과하는 값은 15로 제한됩니다.
llama serve -hf meta-models/Muse-Glimmer-30B-GGUF --spec-type draft-dflash --spec-draft-n-max 15
다음과 같이 추측 디코딩 드래프터와 함께 llama cli를 사용할 수도 있습니다.
llama cli -hf meta-models/Muse-Glimmer-30B-GGUF --spec-type draft-dflash
Inference Endpoints
관리형 자동 확장 배포의 경우, Muse Glimmer 30B Inference Endpoints preset를 엽니다. 모델은 이미 선택되어 있습니다: 조직, 클라우드 공급자, 지역, 호환 GPU 인스턴스, 인증 및 자동 확장 설정을 선택한 뒤 시간당 가격을 검토하고 Create Endpoint를 클릭합니다. 상태가 Running이 되면 Playground에서 테스트하고 개요에서 엔드포인트 URL과 모델 이름을 복사할 수 있습니다.

배포된 모델은 OpenAI-호환 Chat Completions API를 노출합니다. Hugging Face 토큰을 환경 변수에 저장하고, HF_ENDPOINT_URL를 개요에 표시된 URL로 설정하되 /v1은 생략하며, 엔드포인트의 모델 이름은 HF_ENDPOINT_MODEL로 설정합니다.
export HF_TOKEN="hf_..."
export HF_ENDPOINT_URL="https://<endpoint-id>.<region>.<cloud>.endpoints.huggingface.cloud"
export HF_ENDPOINT_MODEL="<endpoint-model-name>"
pip install --upgrade openai
import os
from openai import OpenAI

client = OpenAI(
    base_url=f"{os.environ['HF_ENDPOINT_URL'].rstrip('/')}/v1/",
    api_key=os.environ["HF_TOKEN"],
)

response = client.chat.completions.create(
    model=os.environ["HF_ENDPOINT_MODEL"],
    messages=[
        {"role": "system", "content": "You are a helpful assistant."},
        {"role": "user", "content": "Write a limerick about Python exceptions."},
    ],
    max_tokens=256,
)
print(response.choices[0].message.content)
구성, 자동 확장, 보안, 로그 및 모니터링에 대한 내용은 Inference Endpoints documentation를 참고하십시오.
Muse Glimmer vLLM에 대한 transformers 백엔드 지원
이번 릴리스에서는 transformers 백엔드로 vLLM에 대한 지원을 제공합니다.
# tensor parallel serving across 4 GPUs
vllm serve meta-models/Muse-Glimmer-30B --model-impl transformers --tensor-parallel-size 4

# infer
curl -s http://127.0.0.1:8000/v1/chat/completions \
    -H 'Content-Type: application/json' \
    -d '{
      "model": "meta-models/Muse-Glimmer-30B",
      "messages": [
        {"role": "user", "content": "Explain tensor parallelism briefly."}
      ],
      "temperature": 0.0,
      "max_tokens": 256
    }'
TRL로 파인튜닝
TRL을 사용하여 Muse Glimmer를 SFT에서 Async GRPO에 이르는 다양한 방법으로 파인튜닝할 수 있습니다. Hopper급 GPU 80GB VRAM 각각으로 bf16에서 두 가지 실험을 수행했습니다.
| 작업 부하 | 실용적 최소값 |
|---|---|
| 추론 / 평가, BF16 | 1×80 GB H100 |
| LoRA SFT, BF16 | 1×80 GB H100, 마이크로배치 1 + 체크포인팅 |
| Full SFT, BF16 | 8×80 GB H100 with FSDP/ZeRO-3 |
| LoRA GRPO, Transformers 롤아웃 | 1×80 GB H100, 느림/타이트 |
| LoRA GRPO, separate vLLM rollout server | 8×H100: 4 롤아웃 + 4 트레이닝 |
| Full-finetune GRPO | 8 GPUs는 보통 부족 |
이번 릴리스의 일부로, Muse Glimmer on small split of MolmoWeb dataset를 파인튜닝하는 예제를 함께 제공합니다. 이는 모델이 구조화된 출력을 생성하도록 만드는 방법과 이미지를 대상으로 파인튜닝하는 방법을 보여줍니다.
또한 OpenCode with AsyncGRPO example에서 모델을 실행하는 실험도 수행했습니다. 모델은 우수한 코딩 능력을 보여주므로 OpenEnv 및 TRL에서 코딩 환경으로의 훈련을 시도해 보시길 권장합니다.
Demos
Muse Glimmer를 시도해 볼 수 있는 재미있는 방법들이 있습니다. 우리 생각에 이 모델의 가장 멋진 점은 로컬 규모의 개인 비서로서 코딩까지 가능하다는 것입니다. 즉, 스스로 양자화하고 Hub에서 양자화된 가중치를 찾고, 추론 엔드포인트에 자체 배포하며, 특정 하드웨어에 맞춰 자체 최적화하는 것까지 할 수 있습니다! 함께 로컬로 가봅시다 🚀
OpenClaw를 Muse Glimmer에 연결하기
추론 엔드포인트가 OpenAI-호환 /v1 API를 공개한다고 가정합니다.
OpenClaw 게이트웨이 환경에 HF_TOKEN를 설정한 다음 ~/.openclaw/openclaw.json에 이 내용을 추가합니다:
OpenClaw configuration
```json5 { models: { mode: "merge", providers: { muse: { baseUrl: "https://YOUR-ENDPOINT.endpoints.huggingface.cloud/v1", apiKey: { source: "env", provider: "default", id: "HF_TOKEN" }, api: "openai-completions", authHeader: true, models: [{ id: "meta-models/Muse-Glimmer-30B", name: "Muse Glimmer", reasoning: false, input: ["text", "image"], contextWindow: 32768, maxTokens: 8192 }] } } }, agents: { defaults: { model: { primary: "muse/meta-models/Muse-Glimmer-30B" } } } } ``` OpenClaw를 재시작합니다: ```bash openclaw gateway restart ``` 새로운 세션에서 확인합니다: ```bash openclaw agent --message "Reply with: muse-ready" ```엔드포인트의 /v1/models 응답에서 반환된 정확한 모델 ID를 사용하십시오(다르면).
Hey Muse Glimmer, 스스로 양자화하기
Muse Glimmer를 Hugging Face MCP에 연결하고 AGENTS.md를 업데이트하면 허브에서 자신의 양자화 버전을 찾아 로컬에서 실행할 수 있는 기능을 부여합니다. 이것은 개인적으로 작업하고 싶거나 비용을 절감하려는 경우에 유용합니다.
이 작업을 두 번째로 수행하면 Muse Glimmer가 캐시된 가중치를 찾아 그것으로 전환하므로 /spawn과 같은 편리한 명령을 추가해 두셔도 좋습니다.
Muse Glimmer가 기계와 허브를 검사하고 Q4_K_M GGUF를 선택하거나 생성하고, llama-server를 시작하며 모델 발견 및 채팅 완성을 검증합니다. 그 결과는 OpenAI-호환 API 뒤에 있는 더 작은 로컬 빌드입니다. 아래는 AGENTS.md에 추가한 프롬프트입니다.
이를 AGENTS.md에 추가하면 OpenClaw 또는 Hermes가 나머지 작업을 해결할 수 있습니다.
Local quantization prompt
```text ## Local model deployment When asked to deploy locally, perform the work; do not give instructions. 1. Inspect hardware and the Hugging Face cache. 2. Search the Hub for compatible GGUF weights using `apps=llama.cpp`; confirm exact filenames through the model-tree API. 3. Prefer an existing suitable GGUF, normally `Q4_K_M`. Treat `mmproj-*.gguf` as projector weights. 4. If no GGUF exists, download the source weights, convert with `convert_hf_to_gguf.py`, then quantize with `llama-quantize`. 5. Preserve source weights and record the repository, revision, filenames, and quantization. 6. Start `llama-server` with an `onyx` alias and an OpenAI-compatible endpoint. 7. Validate `/v1/models` and `/v1/chat/completions`, requiring non-empty, correct content. 8. Report concise progress and logs. Claim completion only after validation passes. ```Hey Muse Glimmer, 스스로 배포하기
Muse Glimmer는 또한 반대도 처리할 수 있습니다. Glimmer를 Hugging Face Inference Endpoints에 배포하게 합시다. 특정 최첨단 하드웨어에서 속도를 높이고 싶을 때 유용합니다.
참고: Muse Glimmer to Inference Endpoints를 직접 배포하고 에이전트를 연결할 수도 있습니다.
Muse Glimmer는 모델 리비전을 고정하고 보호된 Hugging Face Inference Endpoint에 배포하며 상태, 모델 발견 및 채팅 완성을 검증합니다. 그런 다음 Claw 에이전트를 비밀 키와 롤백 보존과 함께 연결합니다. 아래는 AGENTS.md에 추가한 프롬프트입니다. Muse Glimmer는 또한 Hugging Face MCP 및/또는 Hugging Face CLI and Skills가 필요합니다.
Inference Endpoint deployment prompt
```text ## Hugging Face Inference Endpoint deployment When asked to deploy on Hugging Face Inference Endpoints, perform the work; do not give instructions. 1. Inspect Hugging Face authentication, the current model repository, and any existing endpoints. 2. Confirm the exact model repository and immutable revision through the Hub API; inspect its architecture, configuration, and chat template. 3. Confirm that the model is supported by vLLM, then deploy or update a protected Inference Endpoint using the managed native vLLM engine. 4. Choose an available region and the smallest suitable accelerator. Use one replica and enable scale-to-zero when supported. 5. Preserve the previous endpoint configuration for rollback. Do not expose tokens, publish private weights, or replace an unrelated endpoint. 6. Wait for the endpoint to become ready. If startup fails, inspect the logs and report the actual blocker rather than repeatedly changing settings. 7. Validate `/health`, `/v1/models`, and `/v1/chat/completions`, requiring the expected model and non-empty, correct content. When agent use is required, also validate a real structured tool call. 8. Configure the Claw agent to use the endpoint's OpenAI-compatible `/v1` URL, storing credentials as secrets and retaining the previous provider as rollback. Test the connection in a fresh session. 9. Report concise progress and finish with the repository, revision, engine, hardware, endpoint URL, scaling state, and validation results. Claim completion only after every required check passes. ```Hey Muse Glimmer, 스스로 최적화하기
마지막으로 Muse Glimmer가 경미한 RSI를 수행하도록 합시다. 에이전트에게 특정 하드웨어, 예를 들어 Nvidia H100에 맞춰 자체 추론 엔진을 최적화하도록 지시할 수 있습니다. 이를 위해서는 Inference Endpoints와 같은 다른 추론 엔진을 사용해야 합니다.
Muse Glimmer는 자신의 단일-H100 서빙 스택을 벤치마킹하며 워크로드를 고정한 채 한 가지 가역적 변경을 하나씩 테스트합니다. 정확도 보장을 통과하는 이득만 남기고 가장 빠르고 재현 가능한 구성으로 마무리합니다. 아래는 AGENTS.md에 추가한 프롬프트입니다. Muse Glimmer는 또한 Hugging Face MCP 및 Hugging Face CLI and Skills가 필요합니다.
Self-optimization prompt
```text You are Muse Glimmer acting as an autonomous inference-optimization engineer for your own serving stack. Goal: maximize valid single-H100 aggregate completion throughput in tokens/second. Protocol: 1. Establish a correctness-passing baseline. 2. Test one reversible optimization at a time. 3. Keep the prompt, concurrency, sampling, request count, warm-up, and decode length fixed. 4. Reject results that fail correctness or prefix checks. 5. Record every experiment chronologically with its configuration, raw throughput, correctness, and delta. 6. Keep improvements and revert regressions. 7. Stop after six consecutive regressions or when the experiment budget is exhausted. 8. Report the best valid configuration and exact reproduction command. Create a minimal scientific animation of the results: - white background; - raw tokens/second—never normalize; - one point revealed per experiment; - connect every point chronologically; - begin with the lowest valid result; - stop at the best result; - export as a GIF. Never fabricate, interpolate, or count correctness-failing measurements. ```
Hey Muse Glimmer, 허브 연구하기
Muse Glimmer를 Hugging Face 연구 에이전트로 사용해 보십시오. Gradio Space는 각 모델 요청을 OpenAI-호환 API를 통해 개인 Hugging Face Inference Endpoint로 보냅니다. 또한 공식 Hugging Face MCP 서버에 연결하여 에이전트가 허브 저장소, 모델, 데이터셋, Spaces, 문서 및 논문을 검색하고 검사할 수 있는 읽기 전용 도구를 제공합니다.
마무리
저희는 Muse Glimmer를 Hugging Face Hub에 환영하게 되어 기쁩니다. 오늘 바로 로컬 코딩 설정과 함께 Muse Glimmer를 사용해 보세요!
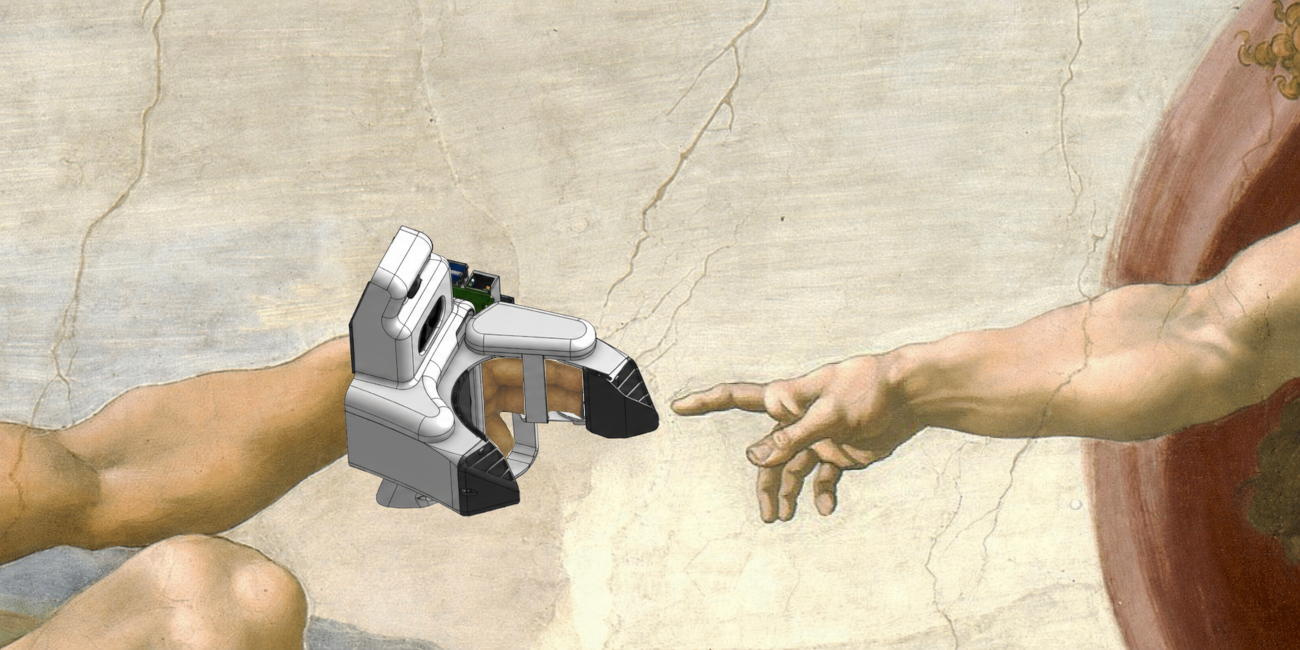
Grabette: 로봇-조작 데이터를 기록하기 위한 오픈 시스템.
*함께 공유 데이터셋을 구축합니다.*
이 글은 Hugging Face 블로그의 Grabette: an open system to record robot-manipulation data를 한국어로 번역한...
Thinking Machines의 Inkling에 오신 것을 환영합니다
이 글은 Hugging Face 블로그의 Welcome Inkling by Thinking Machines를 한국어로 번역한 글입니다.
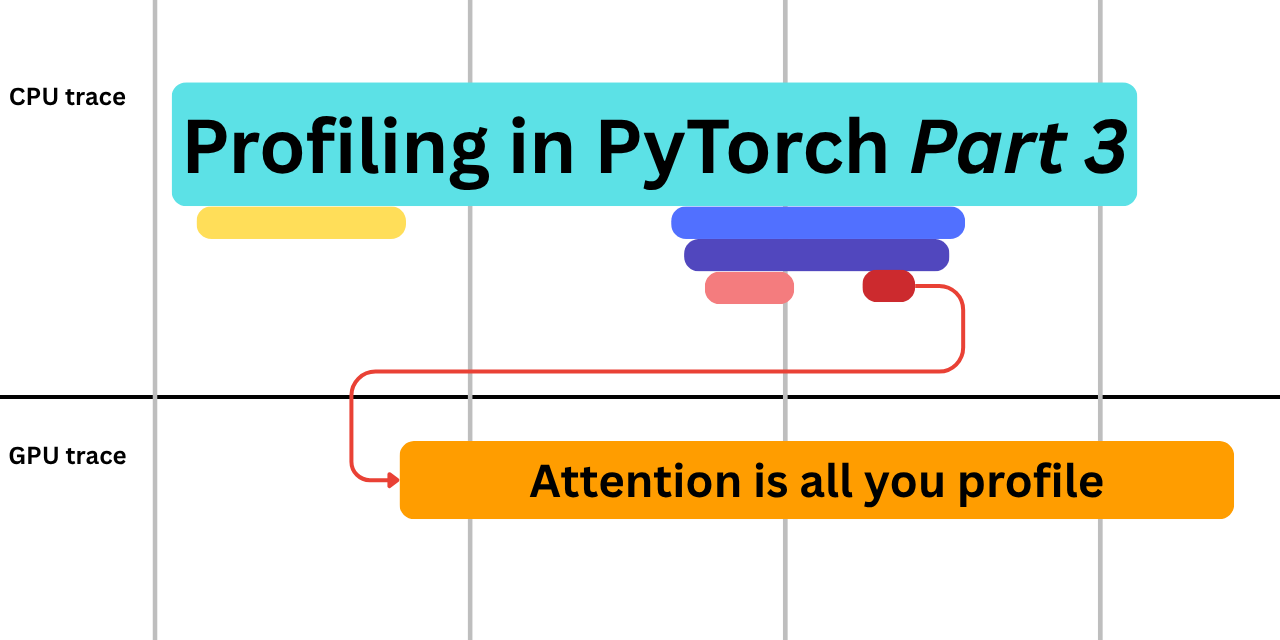
파이토치의 프로파일링(3부): 어텐션이 전부다
이 글은 Hugging Face 블로그의 Profiling in PyTorch (Part 3): Attention is all you profile를...

네이티브-스피드 vLLM transformers 모델링 백엔드
이 글은 Hugging Face 블로그의 Native-speed vLLM transformers modeling backend를 한국어로 번역한 글입니다.
LeRobot v0.6.0: 상상하고, 평가하고, 개선하기
이 글은 Hugging Face 블로그의 LeRobot v0.6.0: Imagine, Evaluate, Improve를 한국어로 번역한 글입니다.
Hugging Face와 Cerebras가 Gemma 4를 실시간 음성 AI로 선보입니다
이 글은 Hugging Face 블로그의 Hugging Face and Cerebras bring Gemma 4 to real-time voice...

Hugging Face 모델 페이지에서 Every Eval Ever 결과 보기
이 글은 Hugging Face 블로그의 Featuring Every Eval Ever Results on Hugging Face Model Pages를...
HF Jobs에서 vLLM 서버를 한 명령으로 실행하기
이 글은 Hugging Face 블로그의 Run a vLLM Server on HF Jobs in One Command를...
FFASR Leaderboard 소개: 현실 세계에서의 ASR 벤치마크
이 글은 Hugging Face 블로그의 Introducing the FFASR Leaderboard: Benchmarking ASR in the Real World를...

매주 AI, 오픈 도구, 그리고 휴먼 인 더 루프가 포함된 huggingface_hub 배포
이 글은 Hugging Face 블로그의 Shipping huggingface_hub every week with AI, open tools, and a...

Transformers.js에서 제안된 Cross-Origin Storage API 실험하기
이 글은 Hugging Face 블로그의 Experimenting with the proposed Cross-Origin Storage API in Transformers.js를 한국어로...

Beyond LoRA: 가장 인기 있는 미세조정 기법을 이길 수 있을까?
이 글은 Hugging Face 블로그의 Beyond LoRA: Can you beat the most popular fine-tuning technique?를...
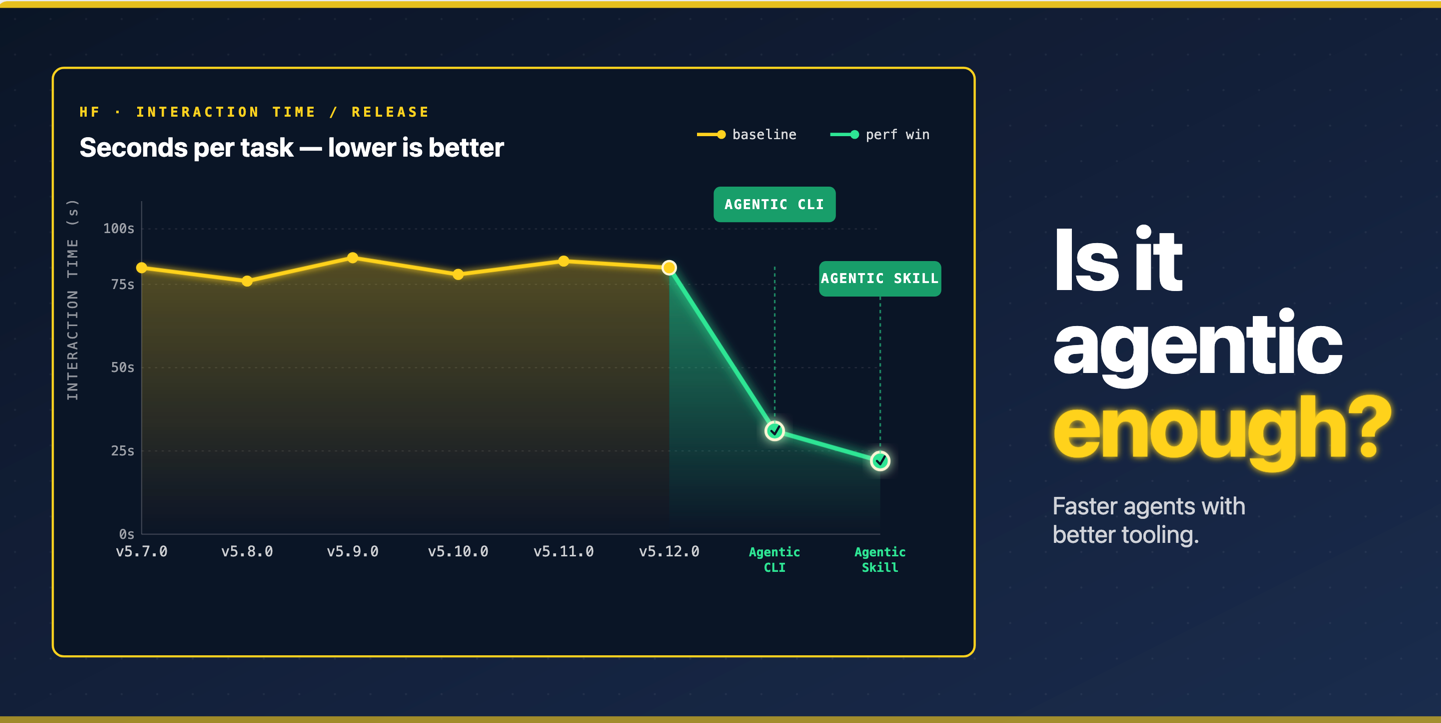
충분히 에이전트적인가요? 자체 도구로 오픈 모델 벤치마킹하기
이 글은 Hugging Face 블로그의 Is it agentic enough? Benchmarking open models on your own...

에이전트 기반 리소스 탐색: 에이전트에게 도구·스킬·다른 에이전트 검색을 맡기다
이 글은 Hugging Face 블로그의 Agentic Resource Discovery: Let agents search를 한국어로 번역한 글입니다.
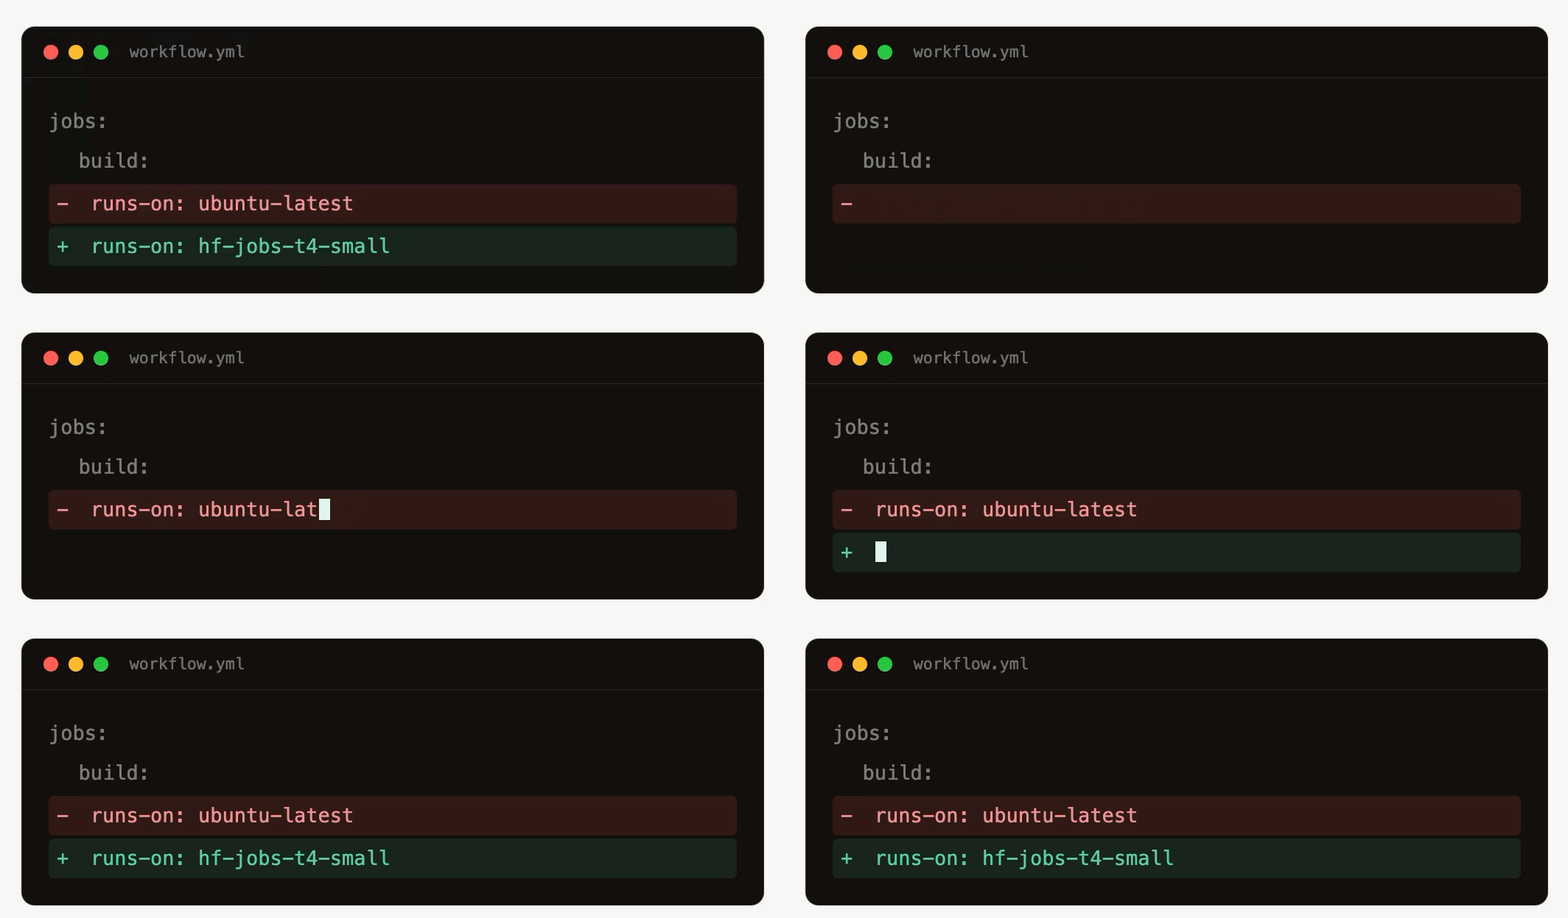
GitHub CI를 Hugging Face Jobs로 마이그레이션
이 글은 Hugging Face 블로그의 Migrating Your GitHub CI to Hugging Face Jobs를 한국어로 번역한...
오픈 소스 커뮤니티가 에이전틱 RL을 위한 OpenEnv에 힘을 싣다
이 글은 Hugging Face 블로그의 The Open Source Community is backing OpenEnv for Agentic RL를...
PyTorch에서의 프로파일링(Part 1): torch.profiler에 대한 초보자 가이드
이 글은 Hugging Face 블로그의 Profiling in PyTorch (Part 1): A Beginner’s Guide to torch.profiler를...

Reachy Mini를 로컬에서 완전히 실행하기
이 글은 Hugging Face 블로그의 Reachy Mini goes fully local를 한국어로 번역한 글입니다.

OlmoEarth v1.1: 더 효율적인 지구관측 모델 제품군
이 글은 Hugging Face 블로그의 OlmoEarth v1.1: A more efficient family of models를 한국어로 번역한...
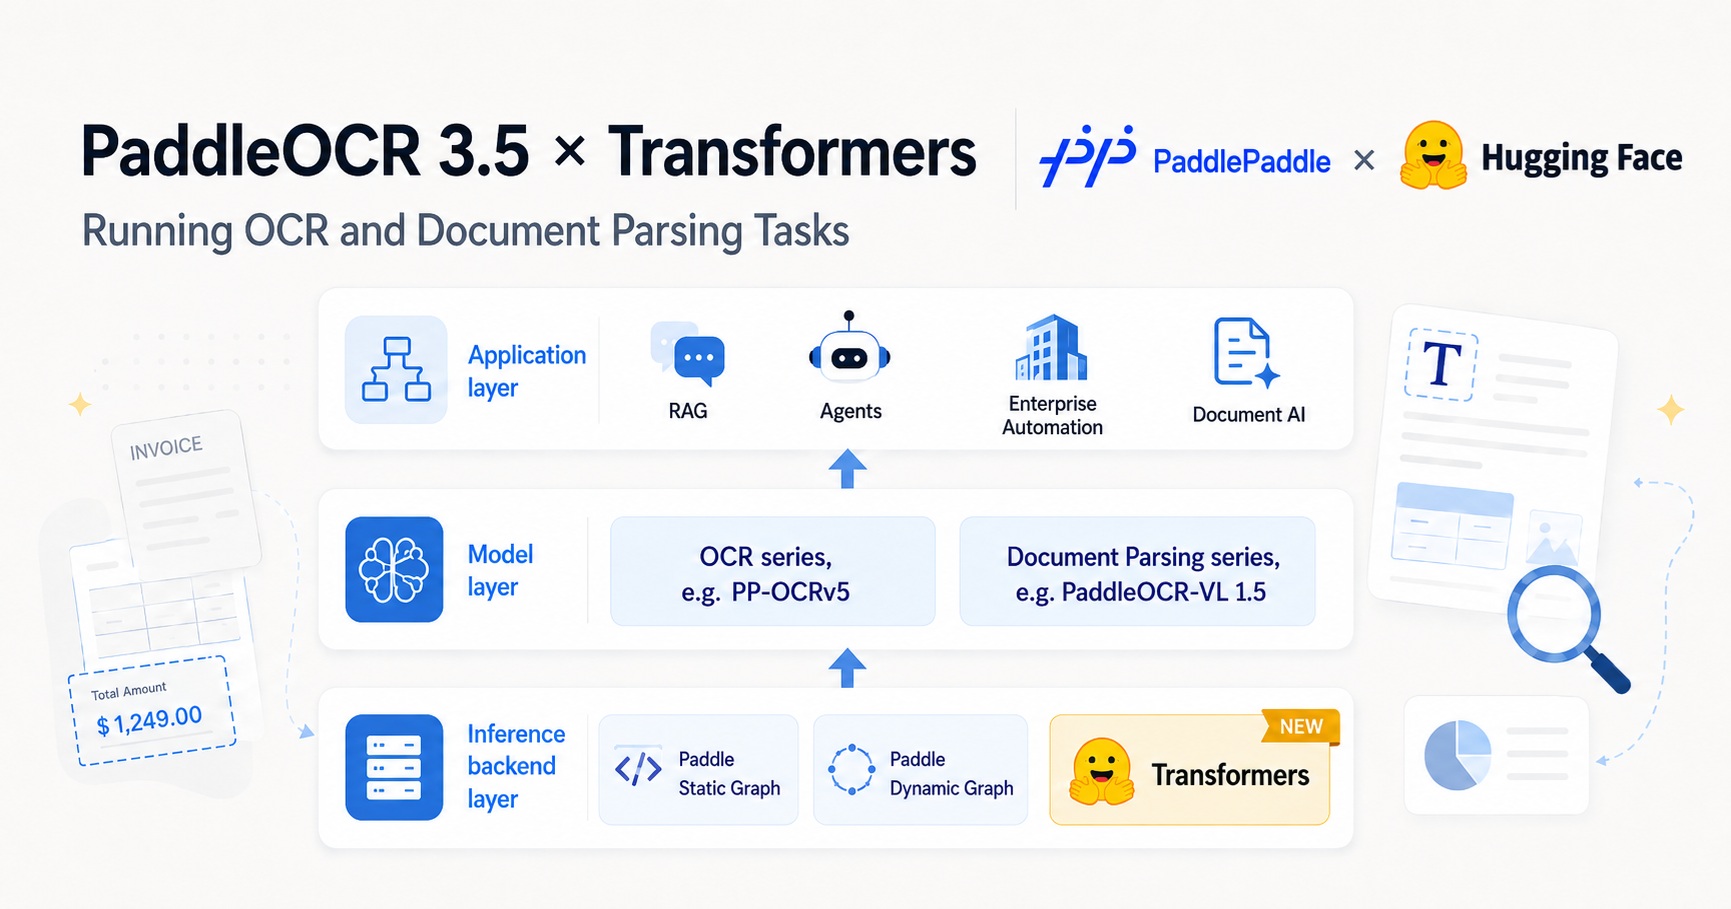
PaddleOCR 3.5: Transformers 백엔드를 활용한 OCR 및 문서 파싱 작업 실행
이 글은 Hugging Face 블로그의 PaddleOCR 3.5: Running OCR and Document Parsing Tasks with a...

Hugging Face Transformers 한글화 - 초벌 번역기 사용법
Hugging Face Transformers 문서를 한글로 번역하는 초벌 번역기 사용 방법을 안내하는 가이드입니다. 😊